如何修改大大的 github action uses ?
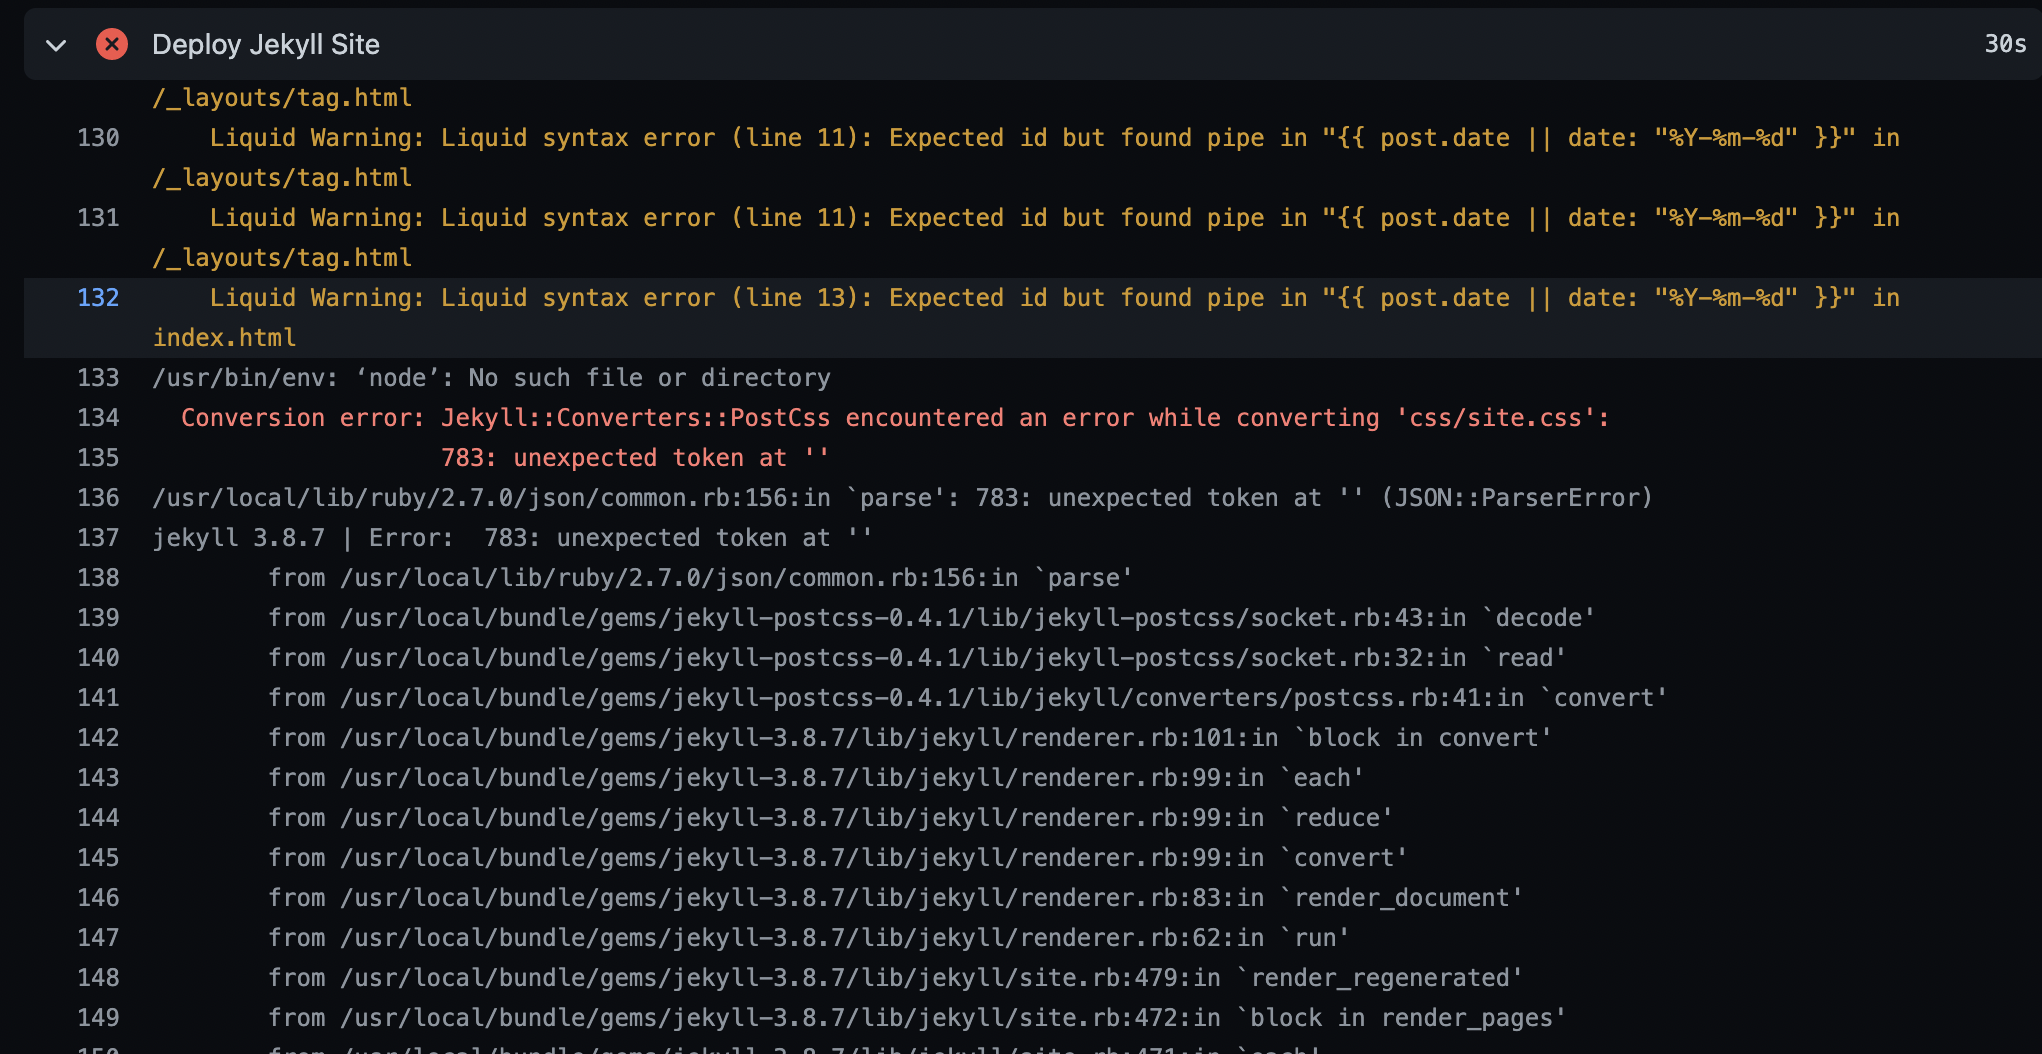
在使用 Jekyll 建立自己的 blog 時,我想用 Tailwindcss 手刻部落格,然而在推上 github 跑 action 時遇到 Conversion error: Jekyll::Converters::PostCss。

後來發現這錯誤是在別人寫好的 uses 裡,並沒有安裝 node 所導致。
所以我打算將其修改並使用自己的 action
Step 1. 了解 action uses
本次 uses 的 action 為 helaili/jekyll-action@v2 後面的 @v2 是指版本號的意思,實際去看該 repo tag 會看到 v2 存在,詳細的 action 使用方法可以看官方介紹。
jobs:
  github-pages:
    runs-on: ubuntu-latest
    steps:
      - uses: actions/checkout@v2
      - uses: helaili/jekyll-action@v2
        with:
          token: $
          target_branch: 'gh-pages'
實際去看該 repo

Step 2. clone 下來並修改
google 所使用的 uses 就可以找到對應的 GitHub repo helaili/jekyll-action,clone 下來後,修改裡面的 Dockerfile ,由於該 action 是沒有安裝 nodejs 的關係所導致錯誤,所以在 Dockerfile 裡面加上安裝 nodejs 即可。
#Dockerfile
#.....

LABEL maintainer="Amoeric <amoeric@github.com>"

#新增此行
RUN apk add --update nodejs npm

#.....
RUN apk add --no-cache git build-base
修改後記得 commit 並 push 到你的 clone repo。
Step 3. 發佈版本號
該 tag 就是你 release 所打出來的 tag,在 repo 的右下角有個 release 連結,點進去後按新增並設定,寫起來的感覺會像是。

寫好後點選下方的 published release 即可發布該版本。
Step 4. 修改 github action yml
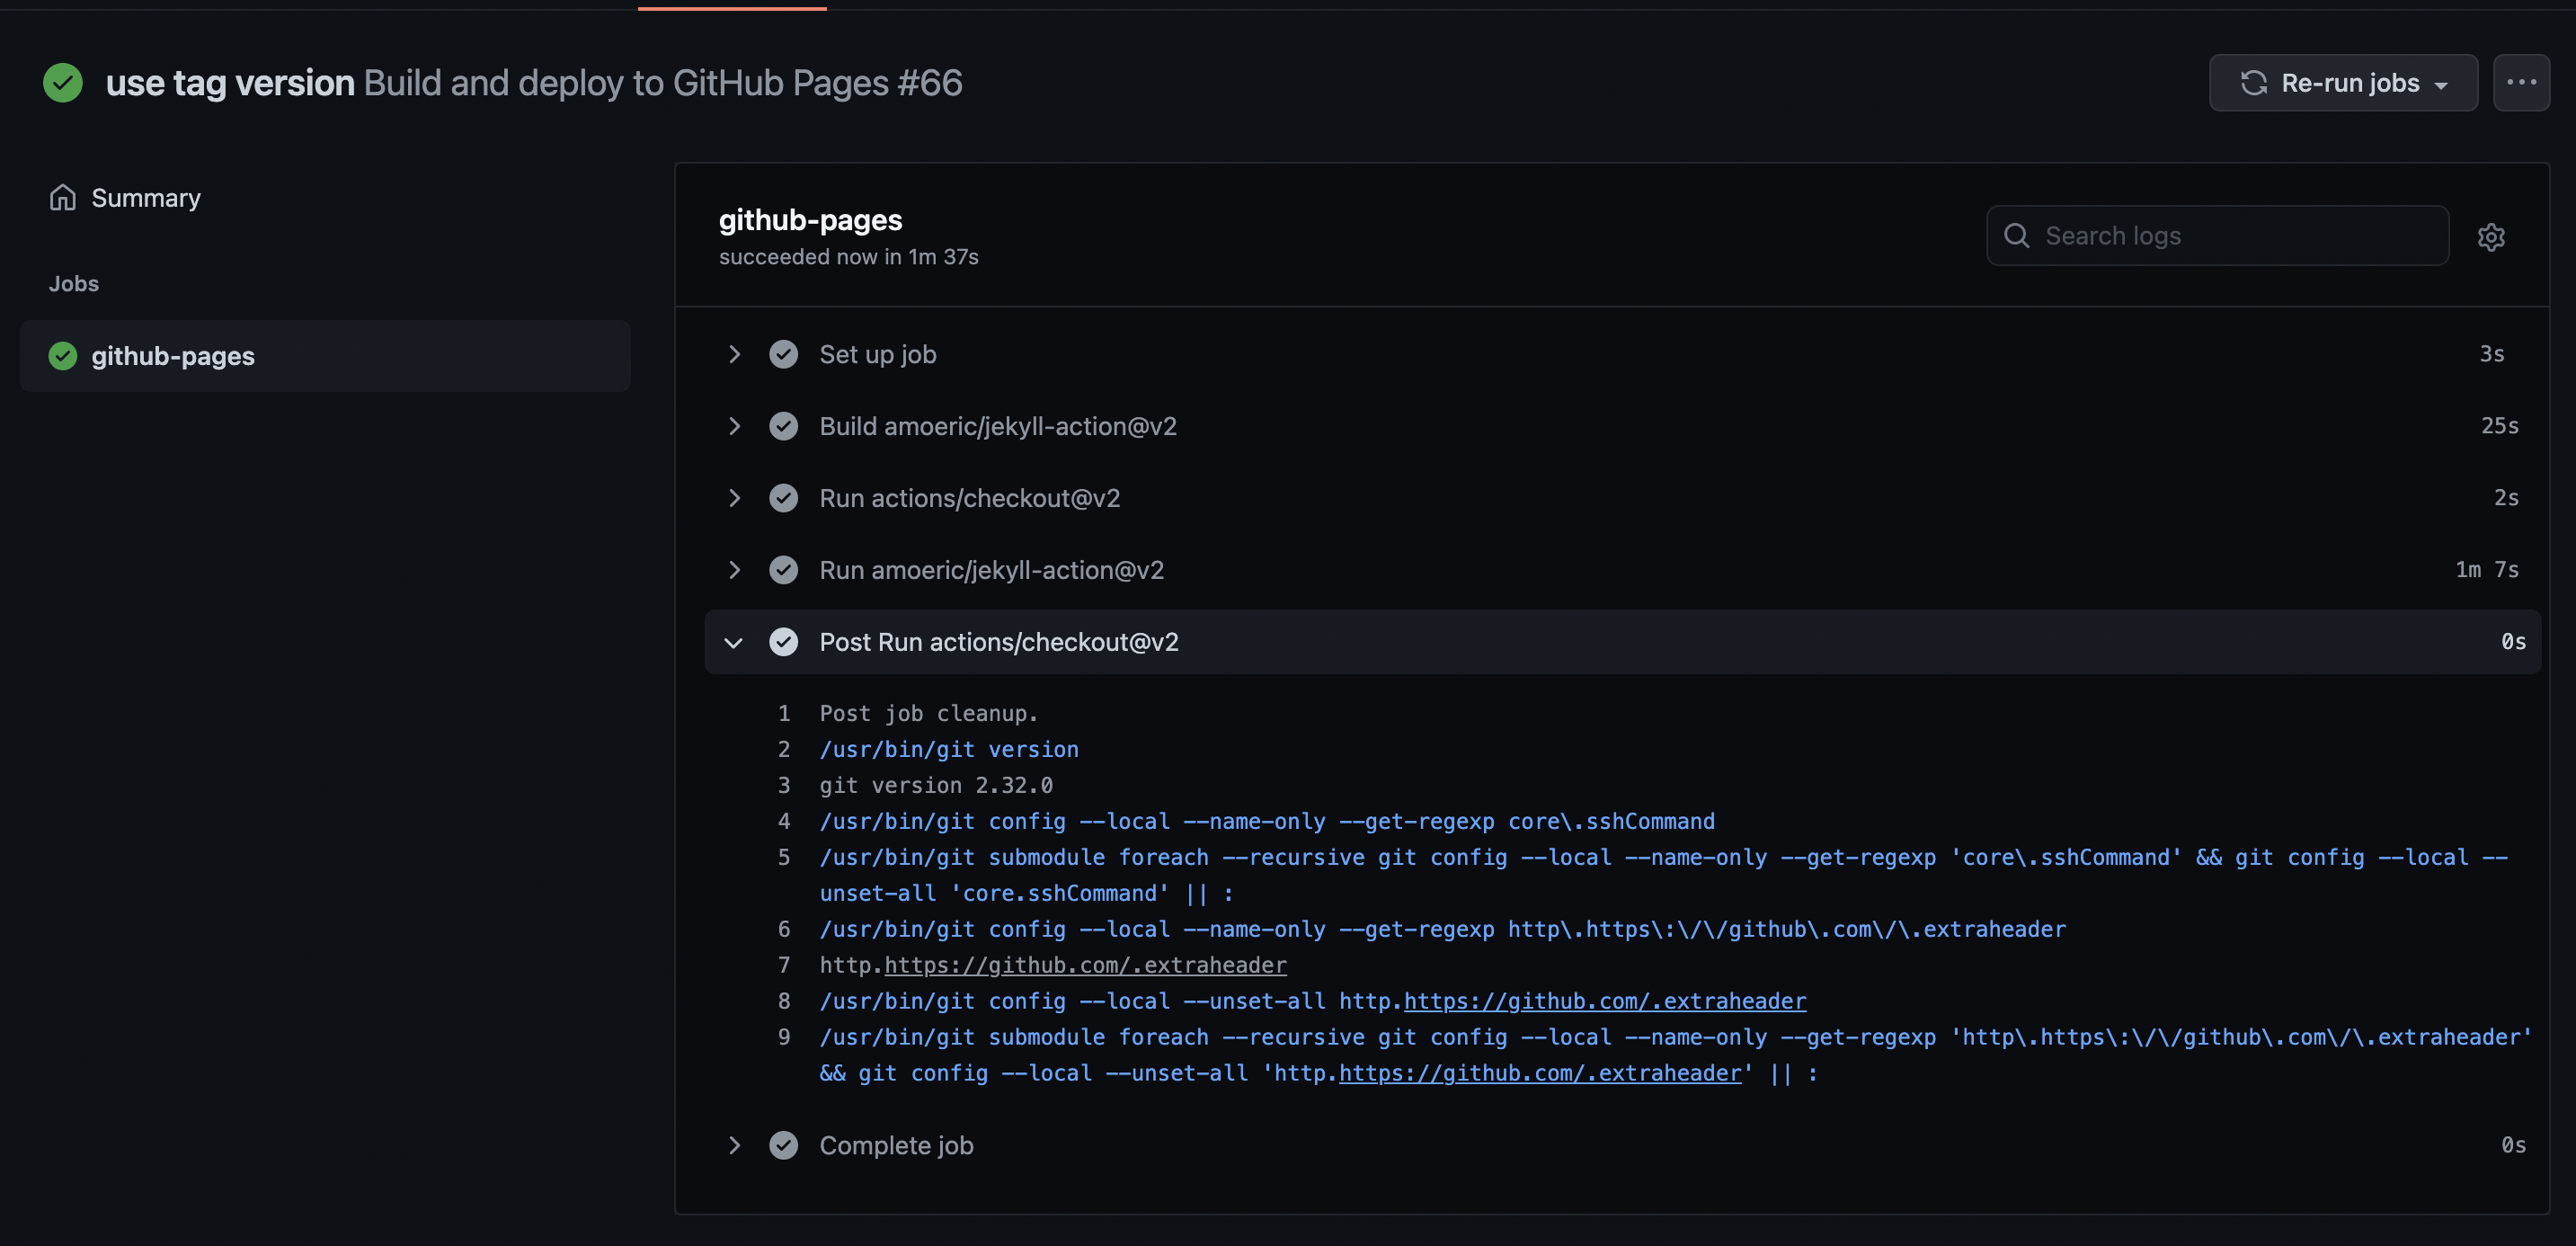
發佈完版本後回到原有的 repo action yml 中,把原先的 helaili/jekyll-action@v2 修改為剛剛 clone 下來的 repo 位置並加上版號就完成了!
jobs:
  github-pages:
    runs-on: ubuntu-latest
    steps:
      - uses: actions/checkout@v2
      - uses: amoeric/jekyll-action@v2

心得
做完修改後對 deploy 這門學問又有更近一步的了解,從一開始的想在 yml 中的上一步 step 安裝 nodejs ,結果無論怎麼改都不行,後來,經過 @蒼時玹也 的提點才了解問題的所在,並進一步地解決。