 amoeric
本文章是在已經完成用 jekyll 推上 github.io 的基礎上進行的設置,如果還沒有設定的話請參考 建立你自己的 github.io、jekyll 架構介紹,也歡迎點擊 jekyll 標籤看更多相關文章。
整體流程會是:
- 編輯文章 > 自動 commit & push > github action build jekyll > 更新 github.io
以下紀錄如何用 macos & ios obsidian 的第三方插件去完成跨裝置、並且隨時隨地的編輯自己的 github.io 。
Git
在 obsidian 如果要完成跨裝置同步的功能,本文章的做法是統一上傳到 github ,並且透過插件去自動 commit、push、pull,以下紀錄安裝步驟。
安裝
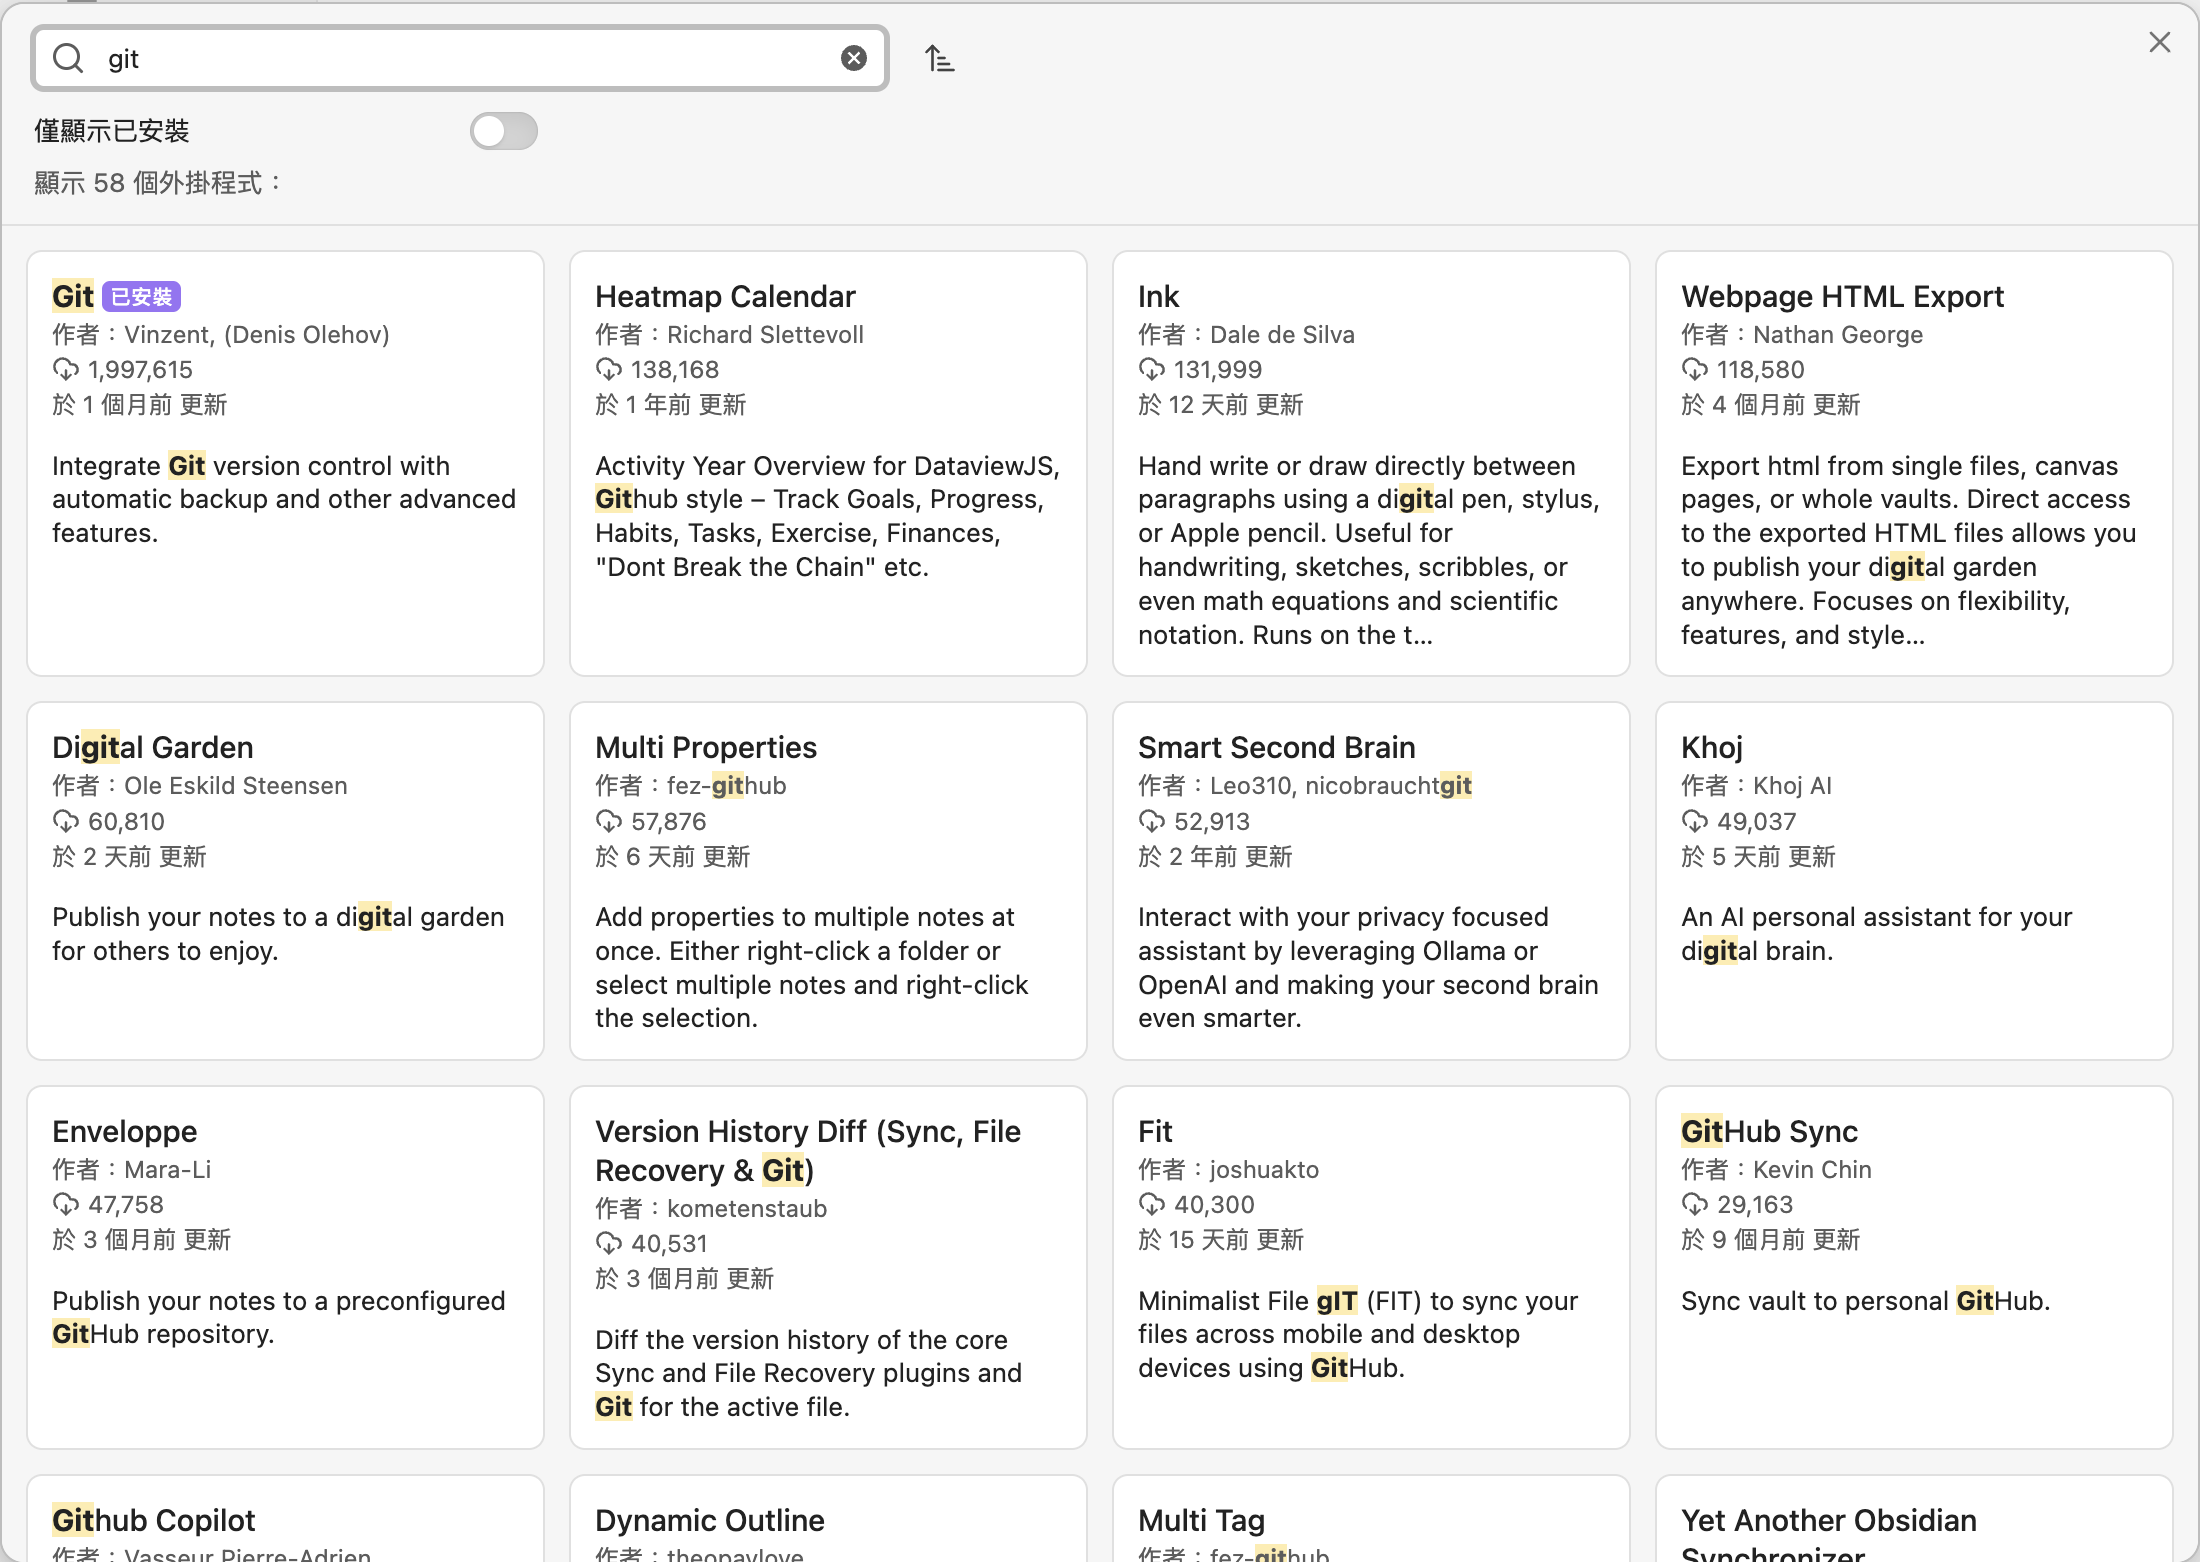
首先到 obsidian 的設定 > 第三方外掛程式 > 社群外掛程式
搜尋 git

安裝後再到插件裡面設定
- 開啟 Auto commit-and-sync after stopping file edits
- Auto commit-and-sync interval (minutes) 設定停止編輯幾分鐘後會 commit 並上傳
- 滑到下方的「pull」區塊,把 pull on startup 打開
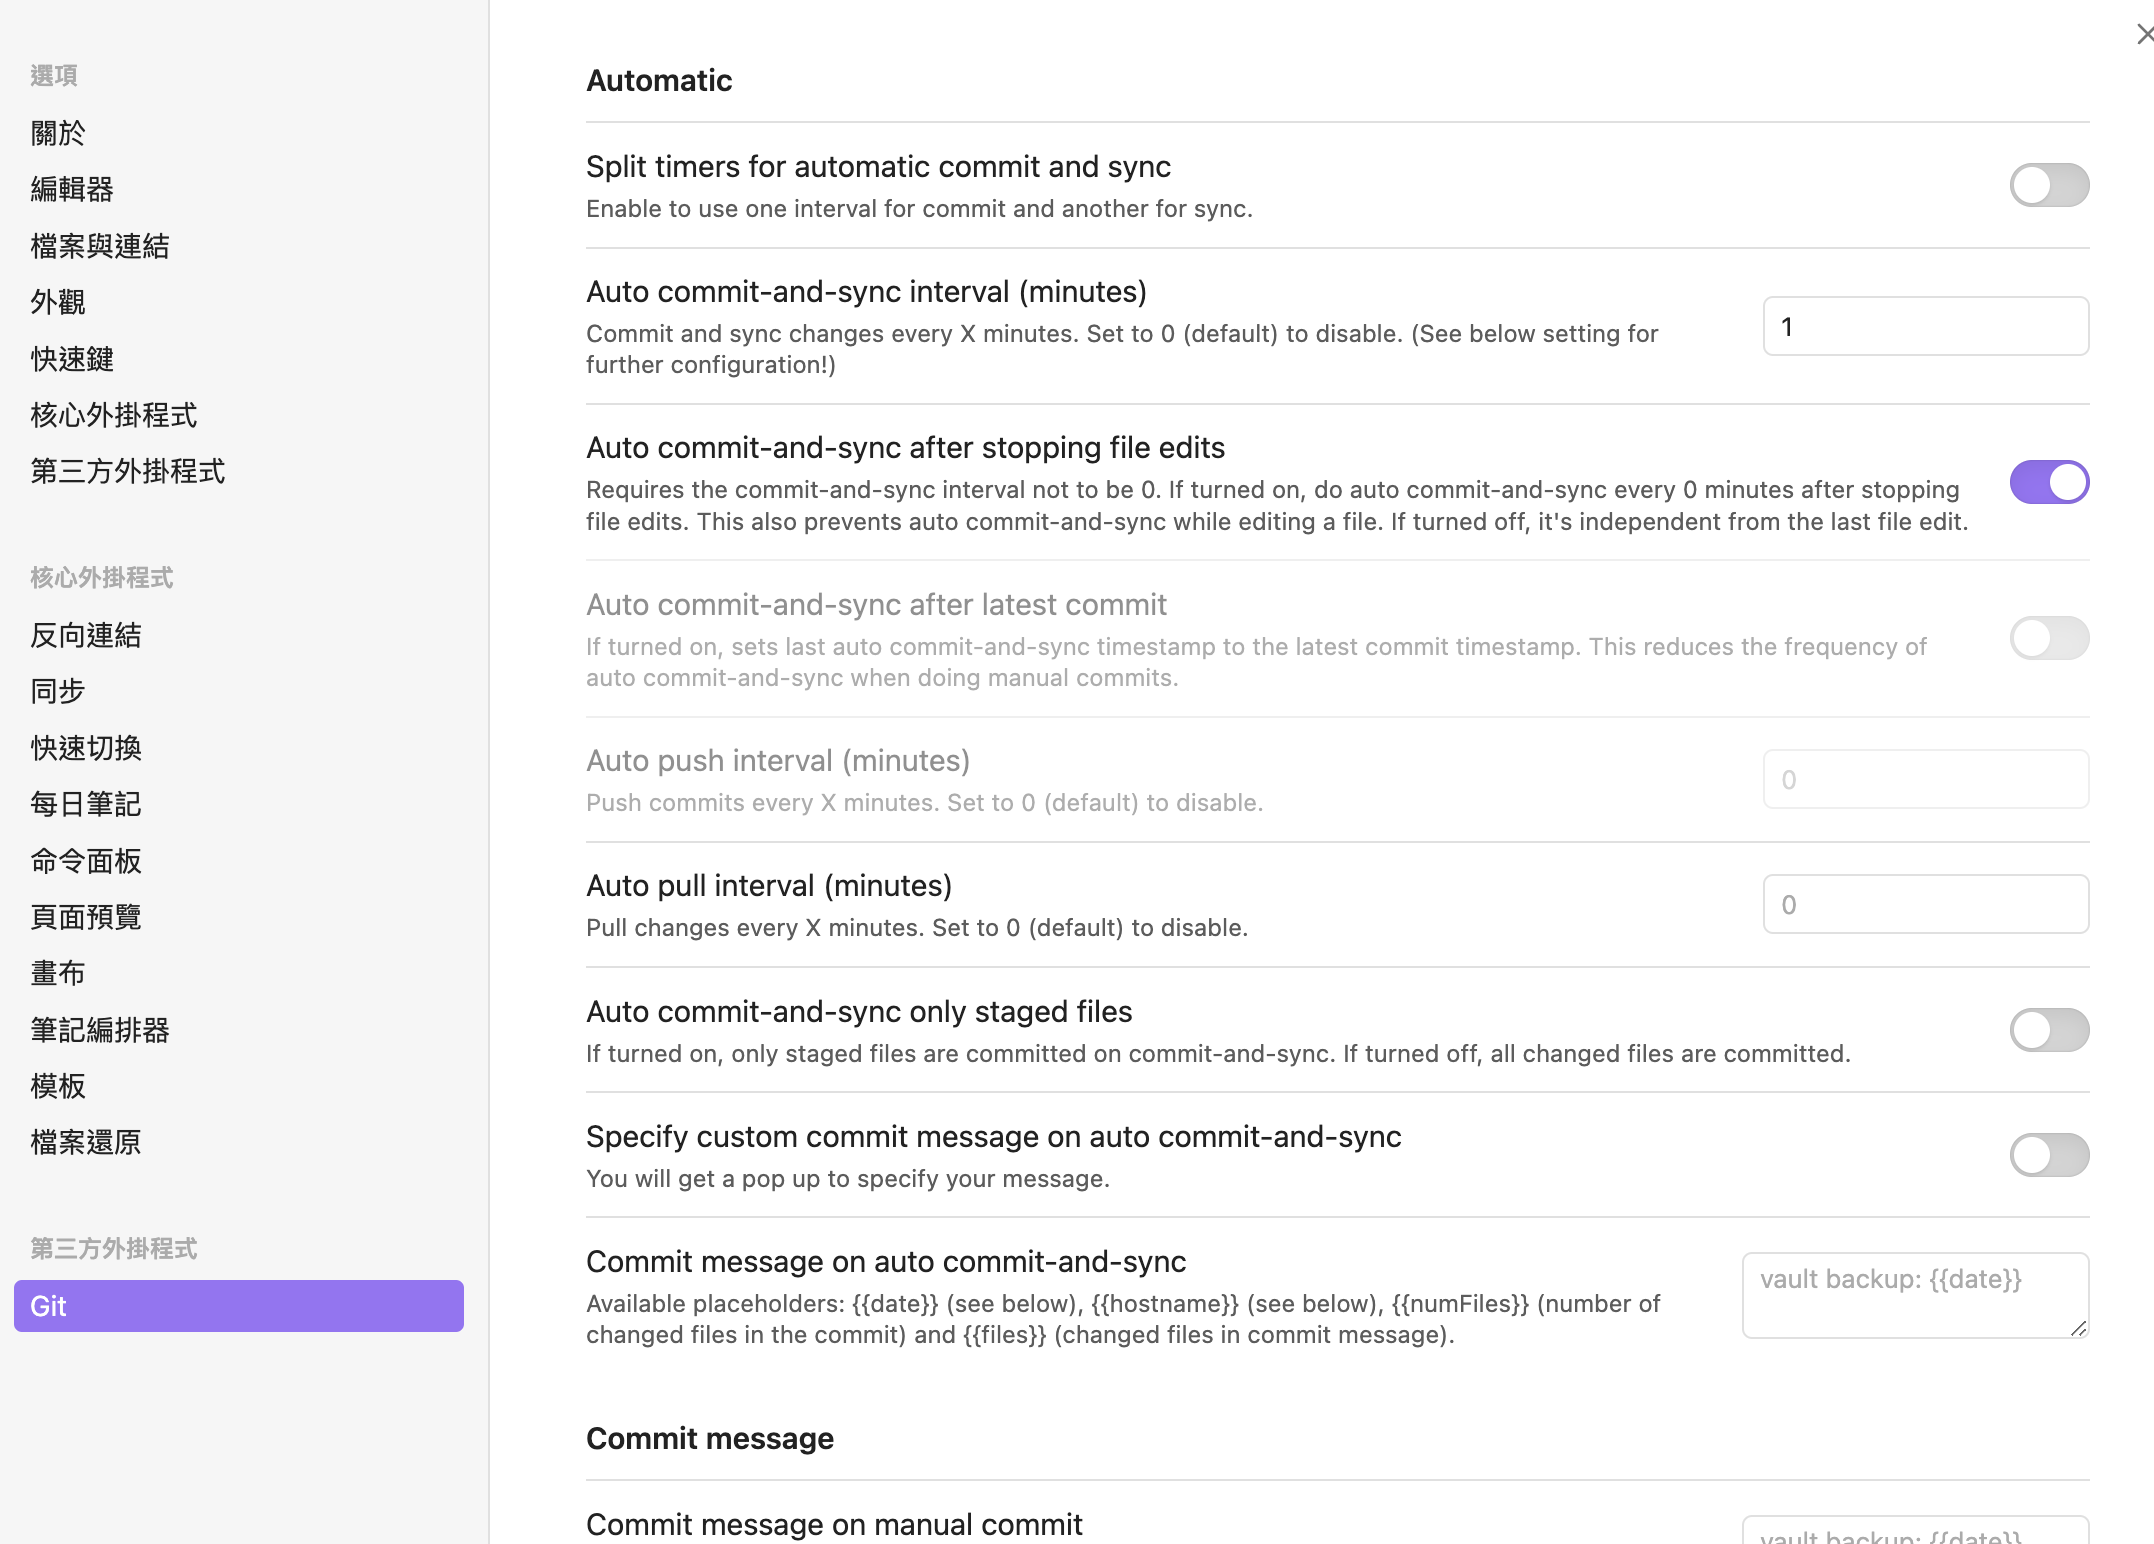

設定完後 obsidian 就會幫你在未編輯的幾分後自動 commit & push 了,因為有啟用 Pull on startup 的關係,也不用擔心同步的問題。
Custom Attachment Location
在 obsidian 中,預設的圖片會像是這種格式
![[xxx.png]]
但是這種格式在 jekyll 的架構中是沒辦法讀取的, jekyll 的圖檔是放在根目錄的 assets/images/ 底下,在這裡就要用到 Custom Attachment Location 這個插件去解決圖檔路徑問題。
安裝
一樣到 obsidian 的設定 > 第三方外掛程式 > 社群外掛程式,搜尋 Custom Attachment Location 並且安裝。
你有極大的可能出現這畫面,不曉得為什麼沒辦法手動去修改參數。
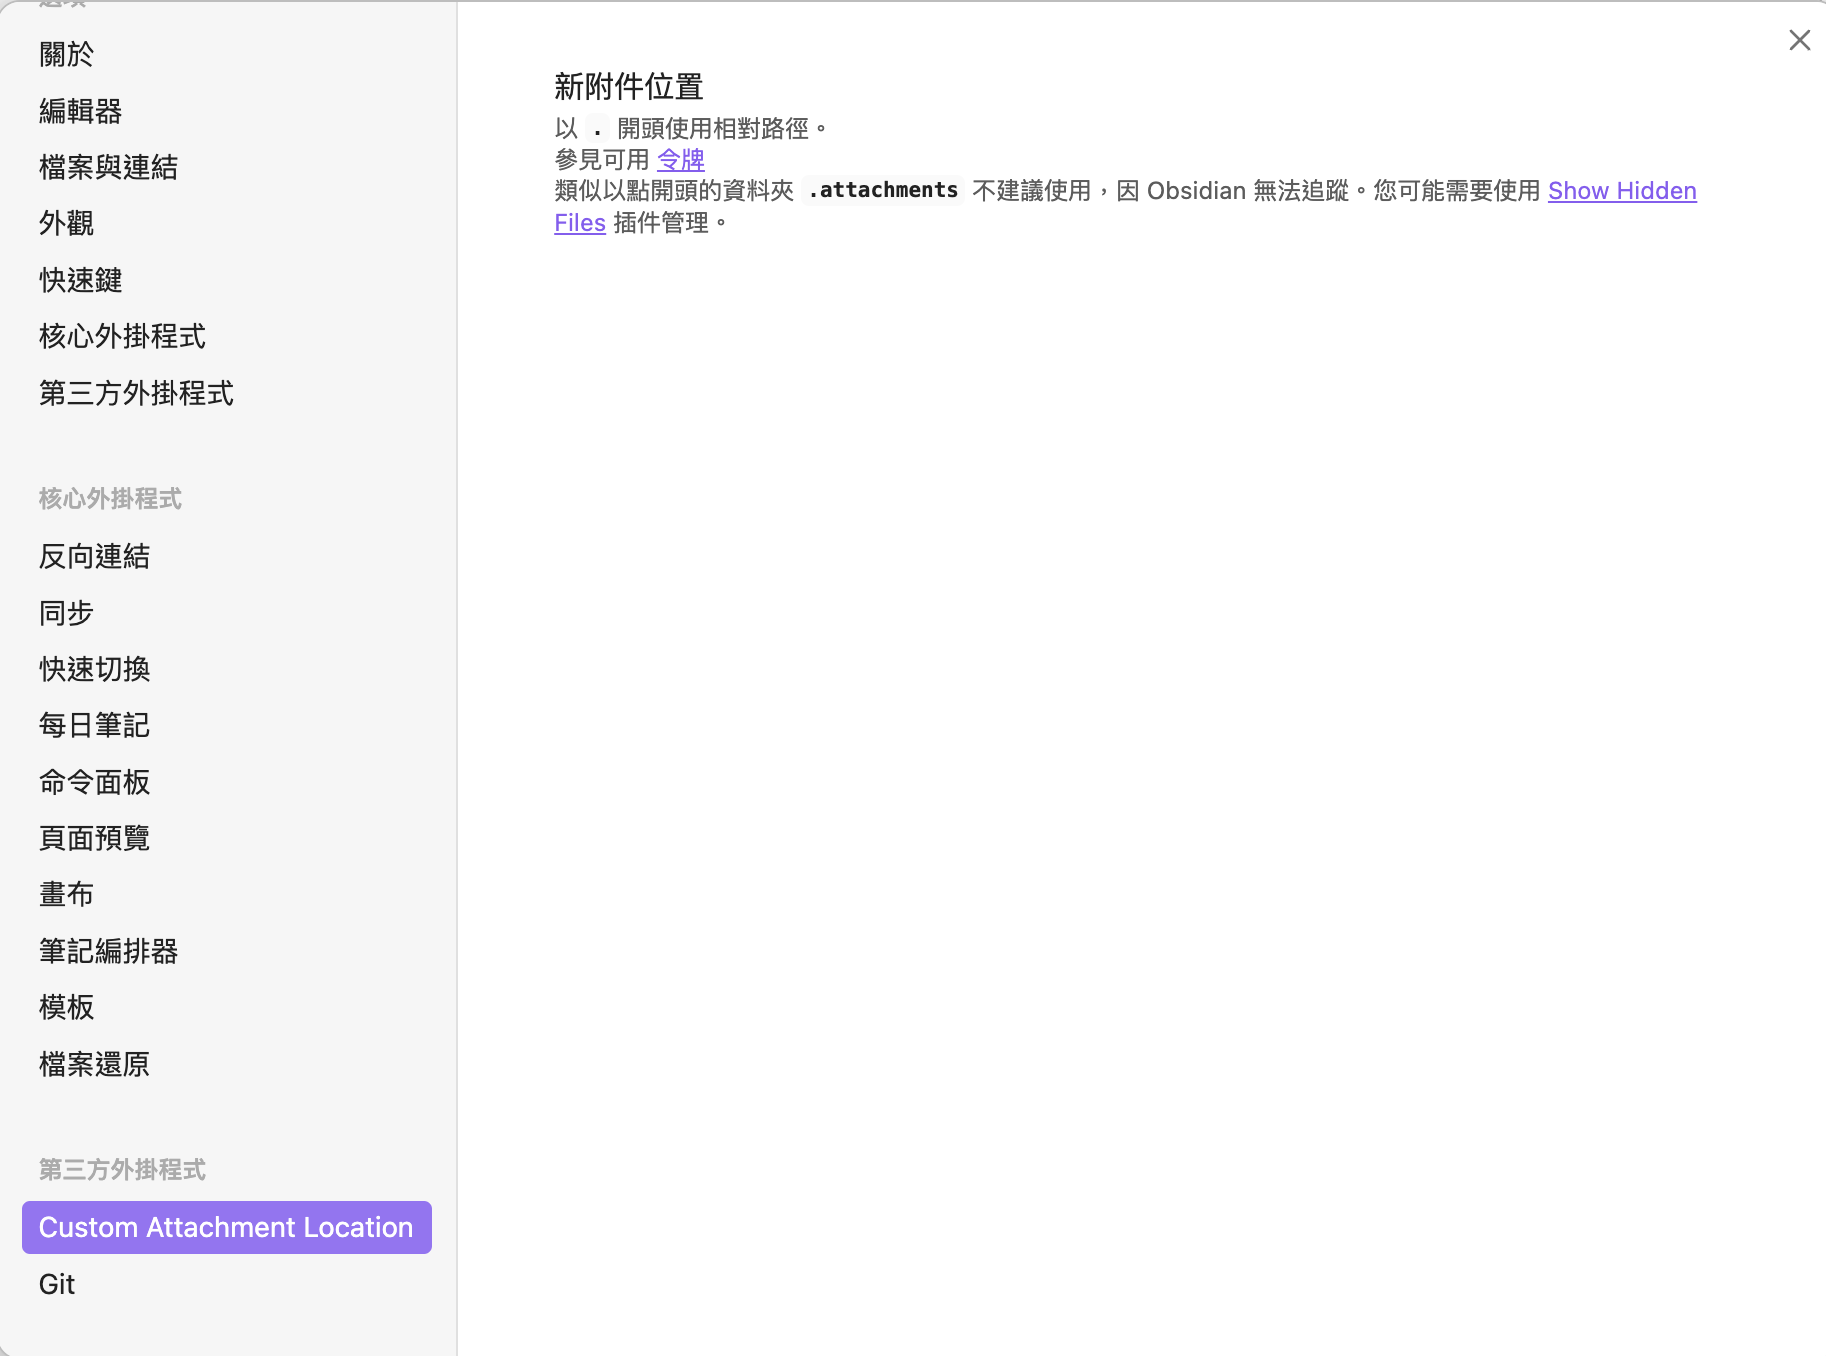
不過沒關係,我們可以透過修改 config 的方式去達成一樣的效果。
請到專案中的 .obsidian/plugins/obsidian-custom-attachment-location/data.json
{
  "attachmentFolderPath": "assets/images/${noteFileName}",
  "attachmentRenameMode": "All",
  "collectAttachmentUsedByMultipleNotesMode": "Skip",
  "collectedAttachmentFileName": "",
  "customTokensStr": "",
  "defaultImageSize": "",
  "defaultImageSizeDimension": "width",
  "duplicateNameSeparator": " ",
  "emptyAttachmentFolderBehavior": "DeleteWithEmptyParents",
  "excludePaths": [],
  "excludePathsFromAttachmentCollecting": [],
  "generatedAttachmentFileName": "${noteFileName}-${date:YYYYMMDDHHmmss}",
  "includePaths": [],
  "jpegQuality": 0.8,
  "markdownUrlFormat": "../assets/images/${noteFileName}/${generatedAttachmentFileName}",
  "renamedAttachmentFileName": "",
  "shouldConvertPastedImagesToJpeg": false,
  "shouldDeleteOrphanAttachments": false,
  "shouldRenameAttachmentFiles": true,
  "shouldRenameAttachmentFolder": true,
  "shouldRenameCollectedAttachments": false,
  "specialCharacters": "#^[]|*\\<>:?/",
  "specialCharactersReplacement": "-",
  "timeoutInSeconds": 5,
  "treatAsAttachmentExtensions": [
    ".excalidraw.md"
  ],
  "version": "9.18.4"
}
| 設定項 | 原本 | 修改後 |
|---|---|---|
| attachmentFolderPath | ./assets/images | assets/images/${noteFileName} |
| attachmentRenameMode | Only pasted images | All |
| generatedAttachmentFileName | ${noteName}-${date:…} | ${noteFileName}-${date:YYYYMMDDHHmmss} |
| markdownUrlFormat | (空) | ../assets/images/${noteFileName}/${generatedAttachmentFileName} |
| shouldRenameAttachmentFiles | false | true |
效果:
- 圖片會存到 assets/images/筆記名稱/ 資料夾(從根目錄開始)
- 檔名格式:筆記名稱-時間戳.png
- Markdown 路徑使用 ../assets/images/…,讓 Obsidian 和 Jekyll 都能正確顯示圖片
手機端
obsidian sync
Ios 手機的做法:
- mac airdrop 專案給手機
- 手機指定儲存到 obsidian 資料夾內
做完後就可以在 obsidian vaults 找到專案了
另外兩種方式:
- Working Copy app (20 鎂買斷)
- 每個月花 8 鎂給 obsidian
另外兩種方式也可以試試看,手機 obsidian vaults 可以開啟後就可以接著以下設定。
Github 設定
先到 ios obsidian 第三方插件 Git 設定 「Authenticcation/commit author」

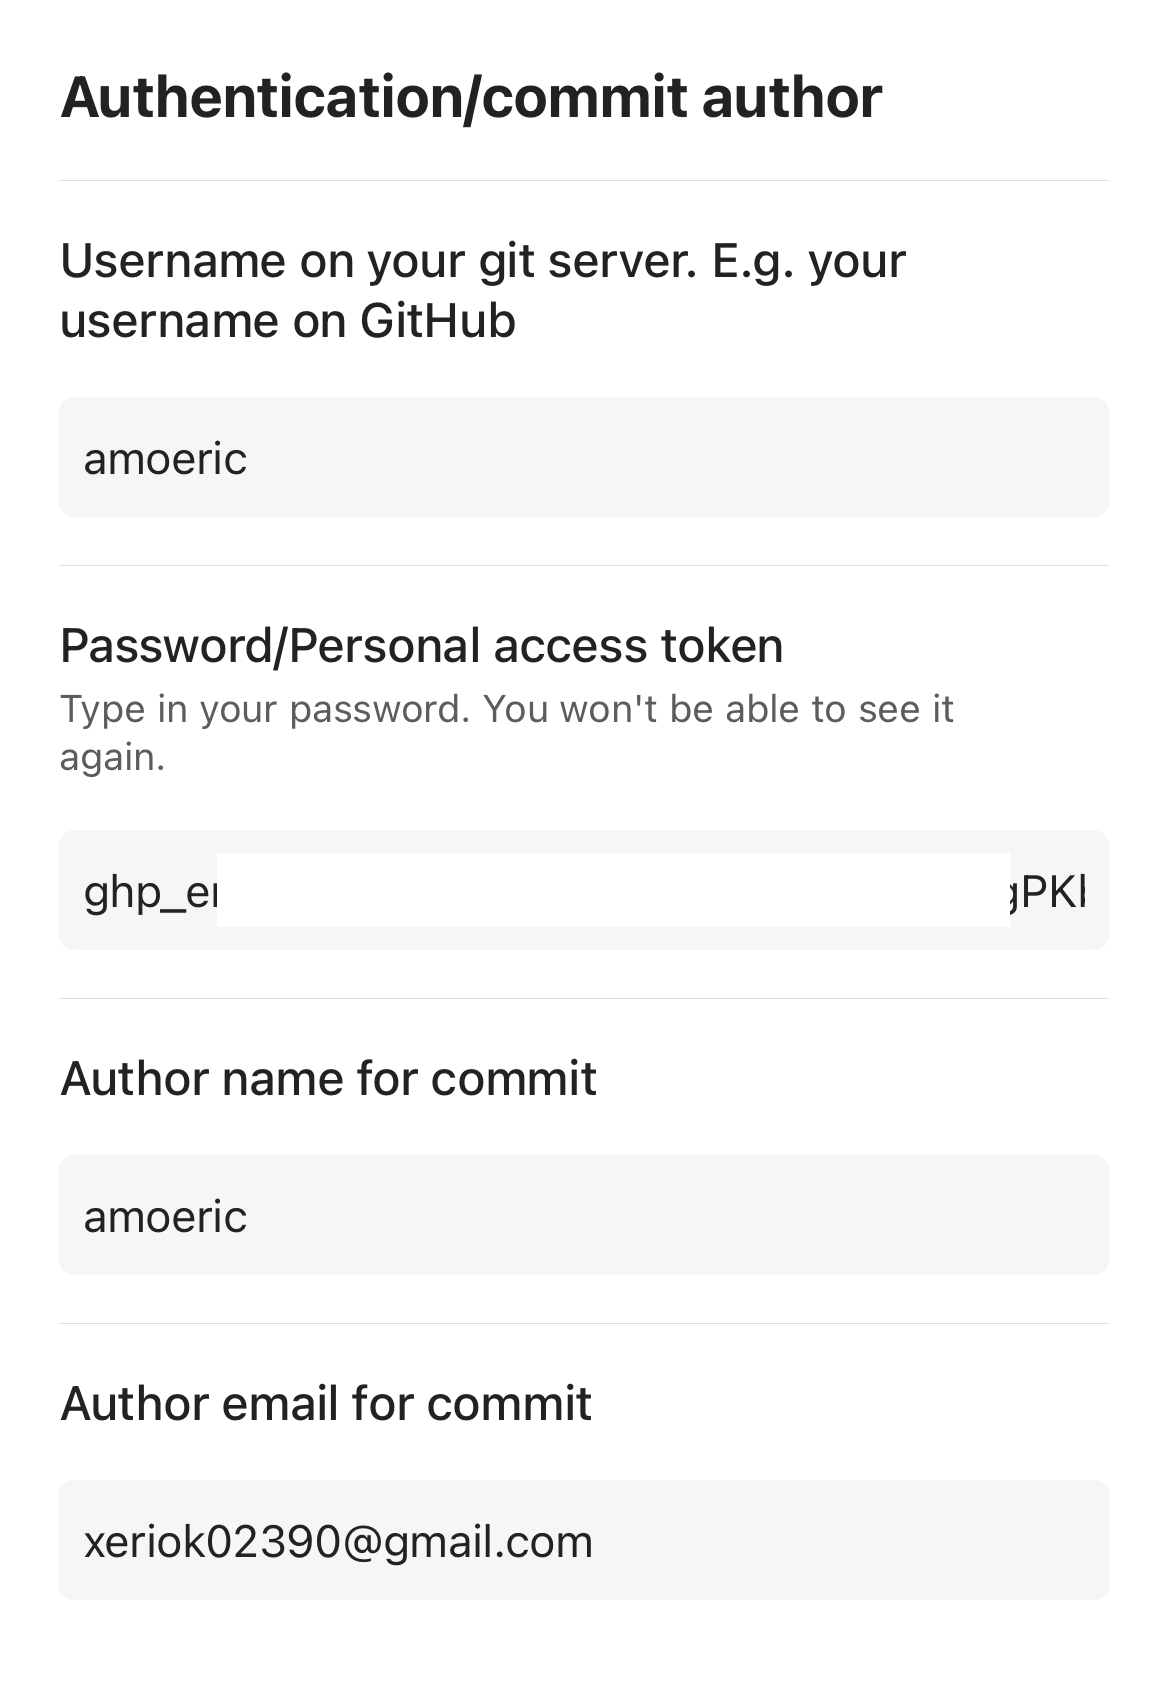
Personal Access Token
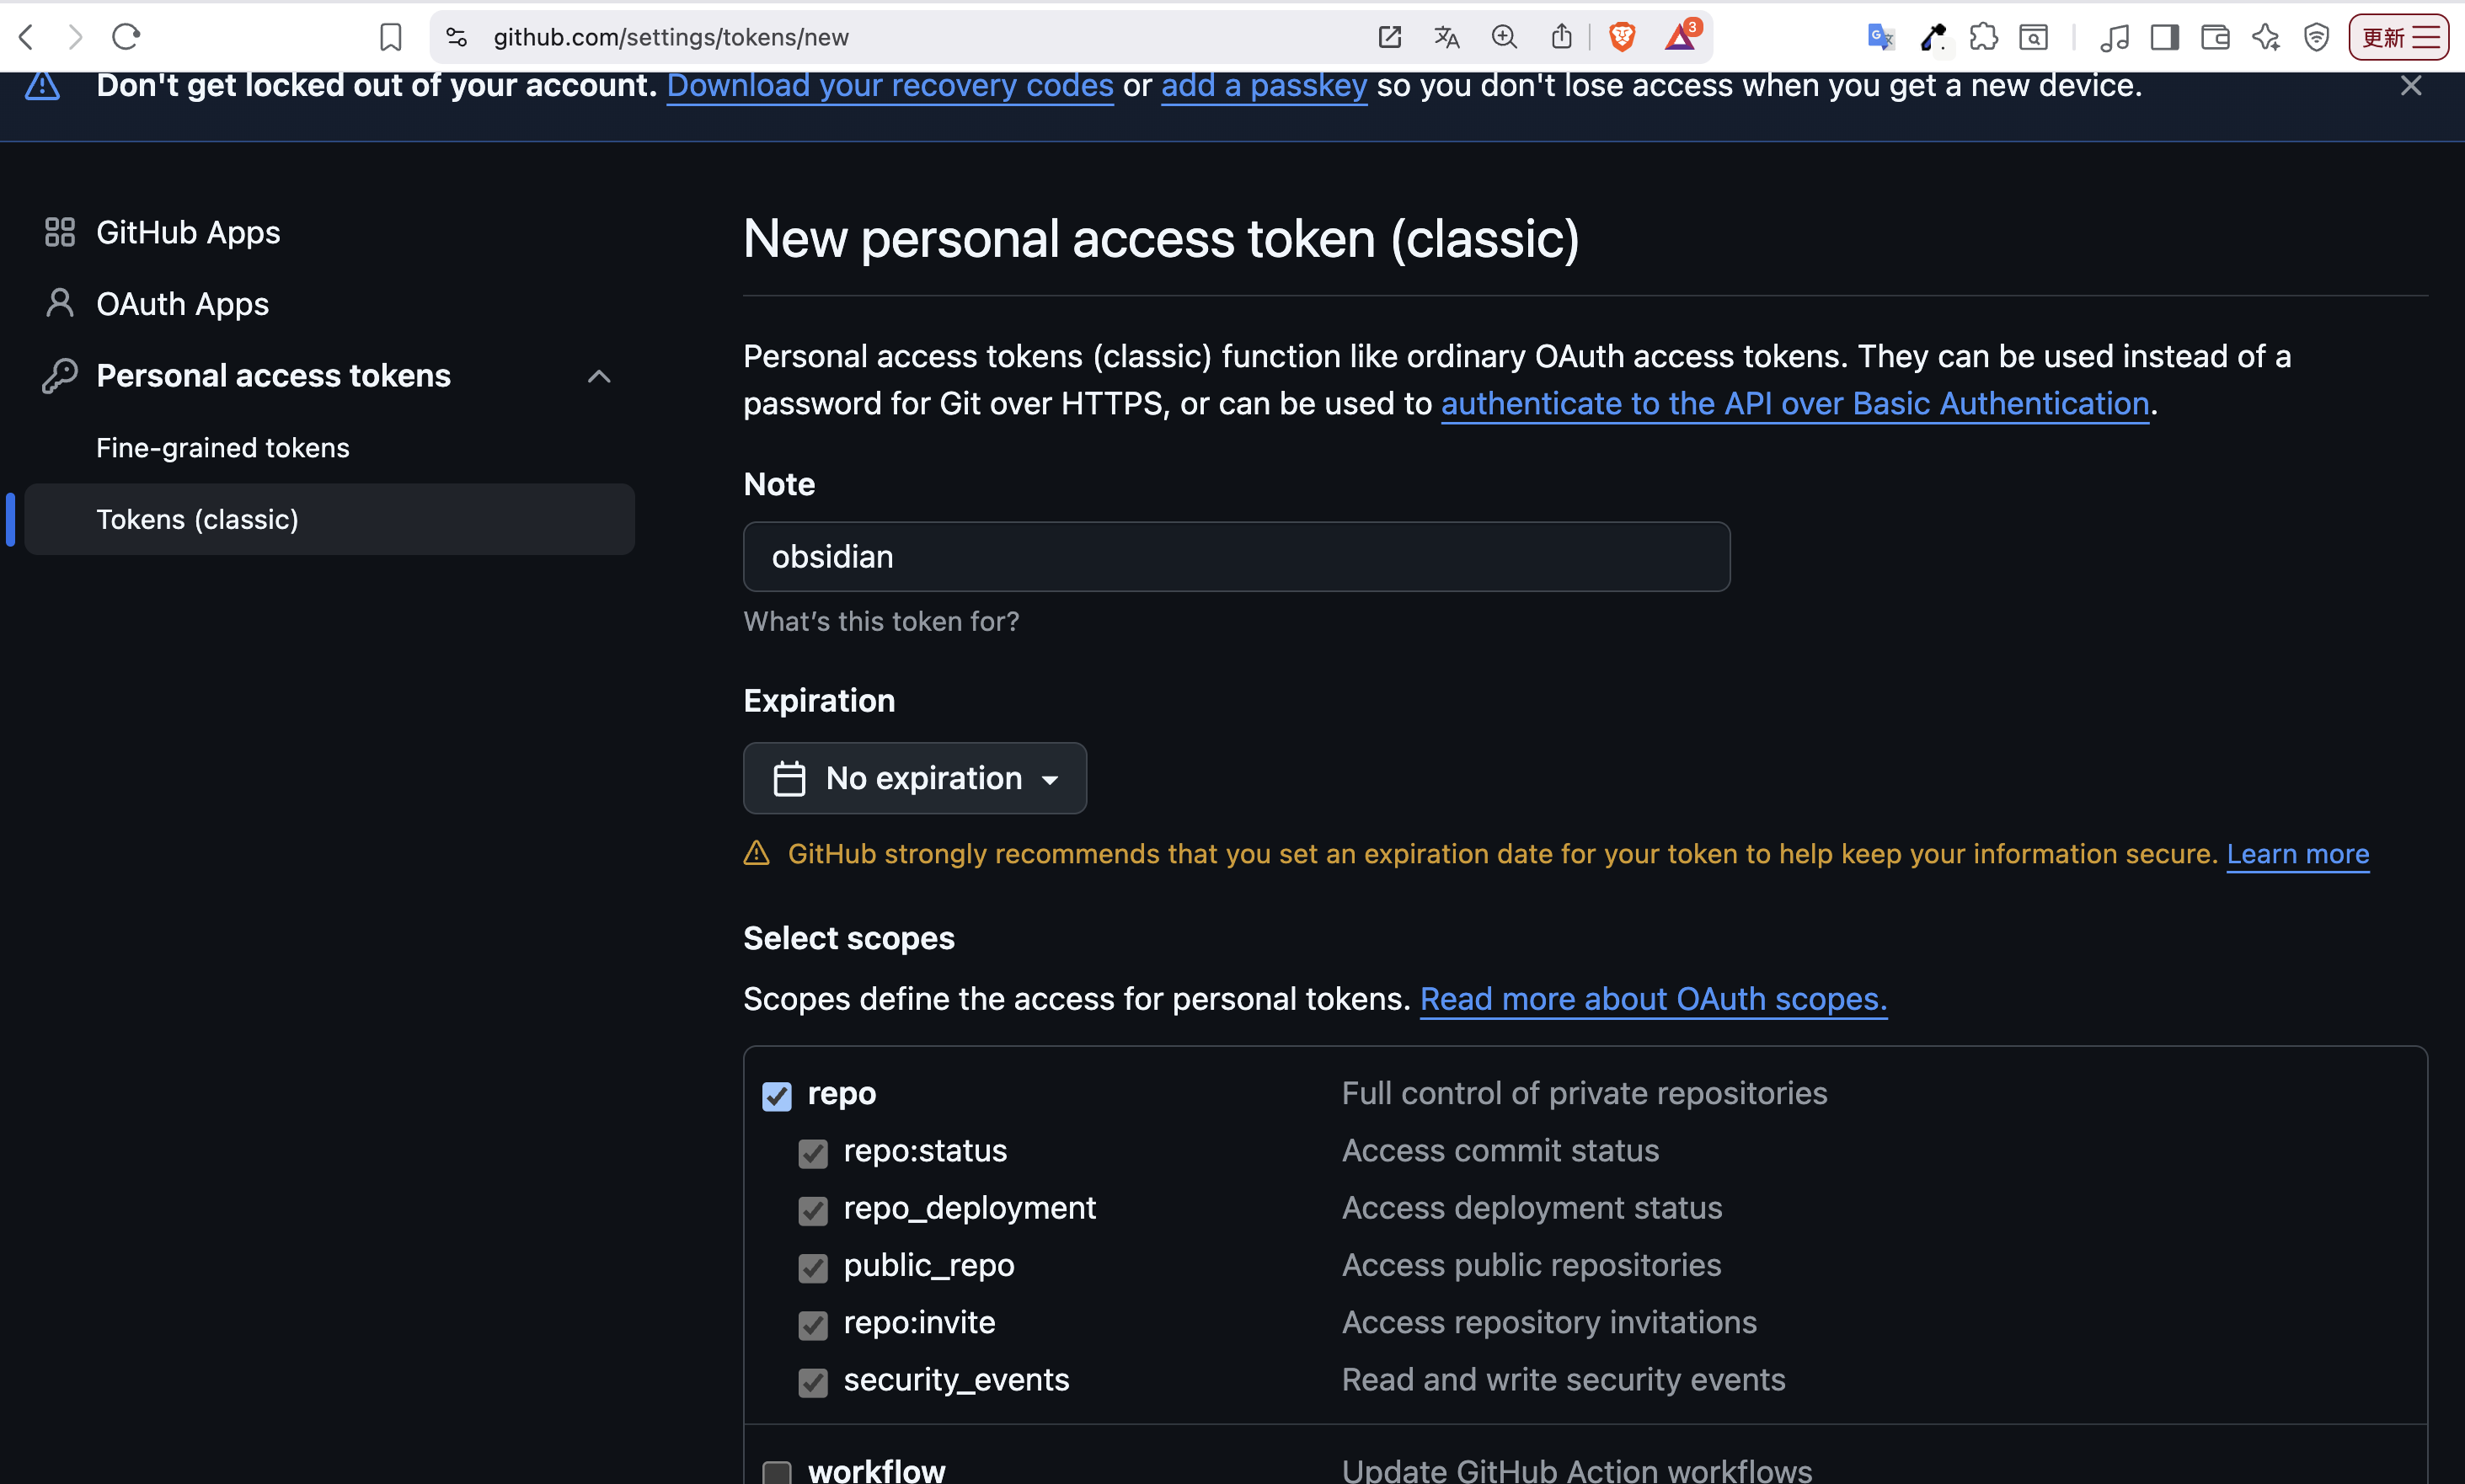
這 token 可以在 github token 頁面的 Token (classic) > Generate new token > Generate new token (classic)
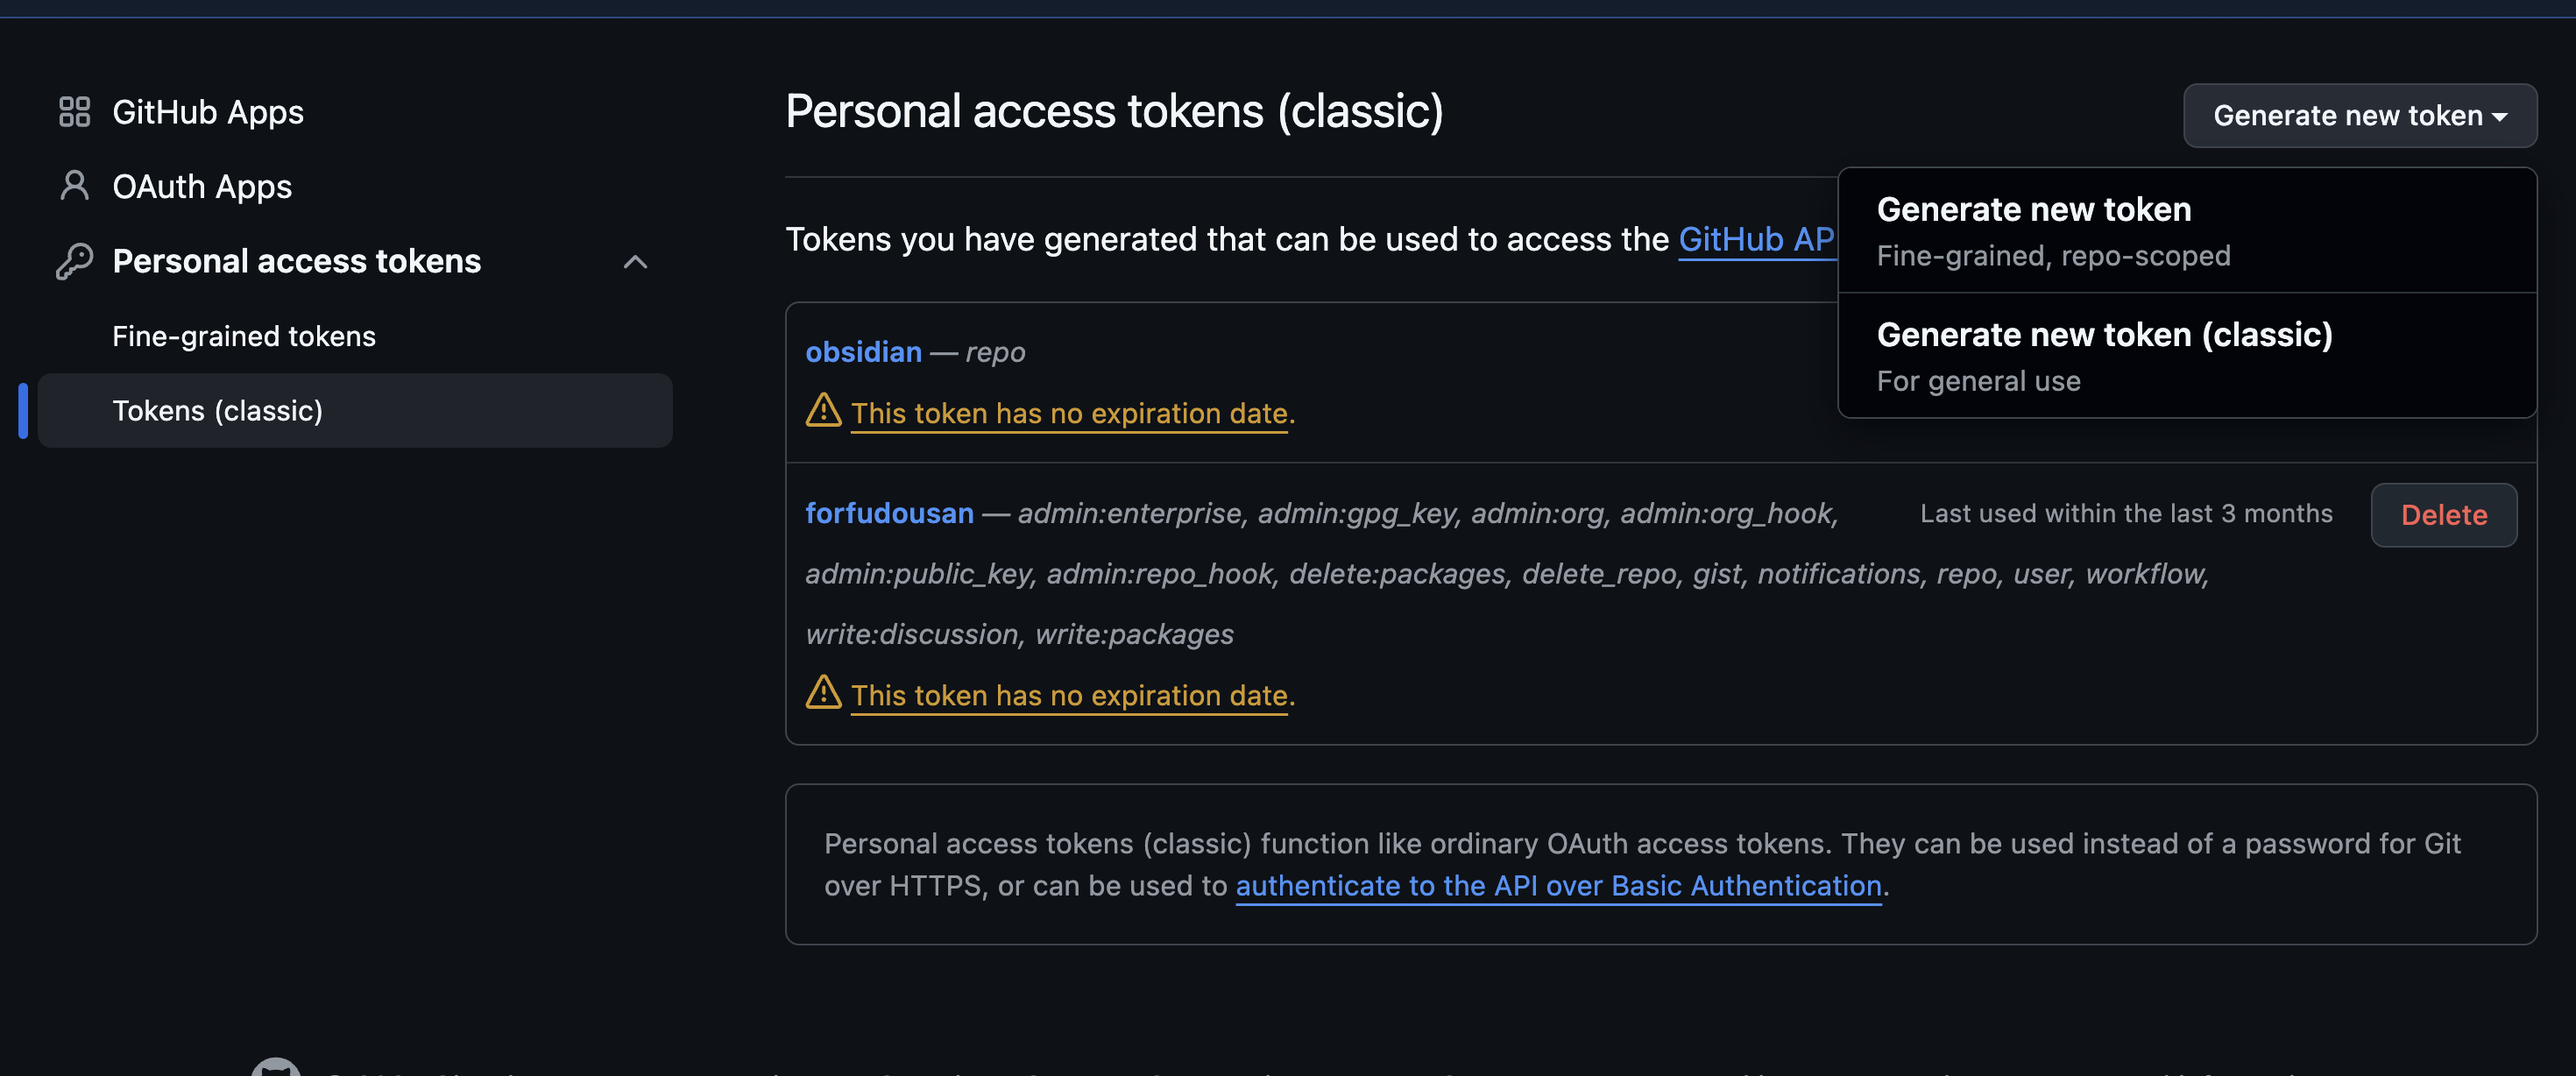
token 到期日自己設定、把 repo 打勾,並送出即可。
記得把 token 貼到 Git 第三方插件裡面
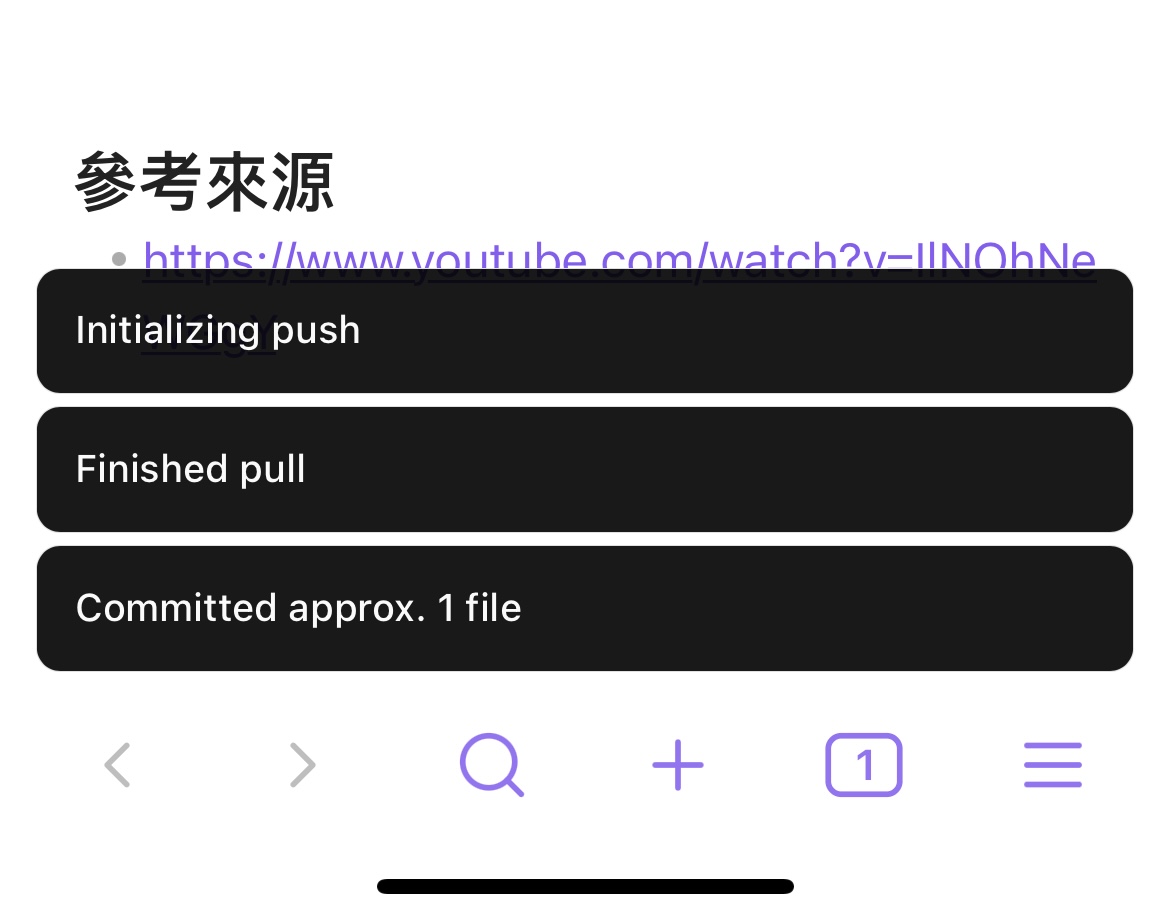
設定完後手機就會自動 sync & push github 了
參考來源
- https://www.youtube.com/watch?v=IlNOhNeWGgY
 Rails 8 中 accepts_nested_attributes_for 無法正常運作的解決方案